WordPress installation is a pretty basic process that only requires a few easy steps to complete. The general steps that you can do are as follows:
Select a domain name for your website as well as a web host. WordPress needs PHP and MySQL to function, therefore you’ll need a web server that supports those languages. Alternatively, you can use a different domain registrar or register a domain name with your web host.
Visit the official WordPress website to download the most recent version:
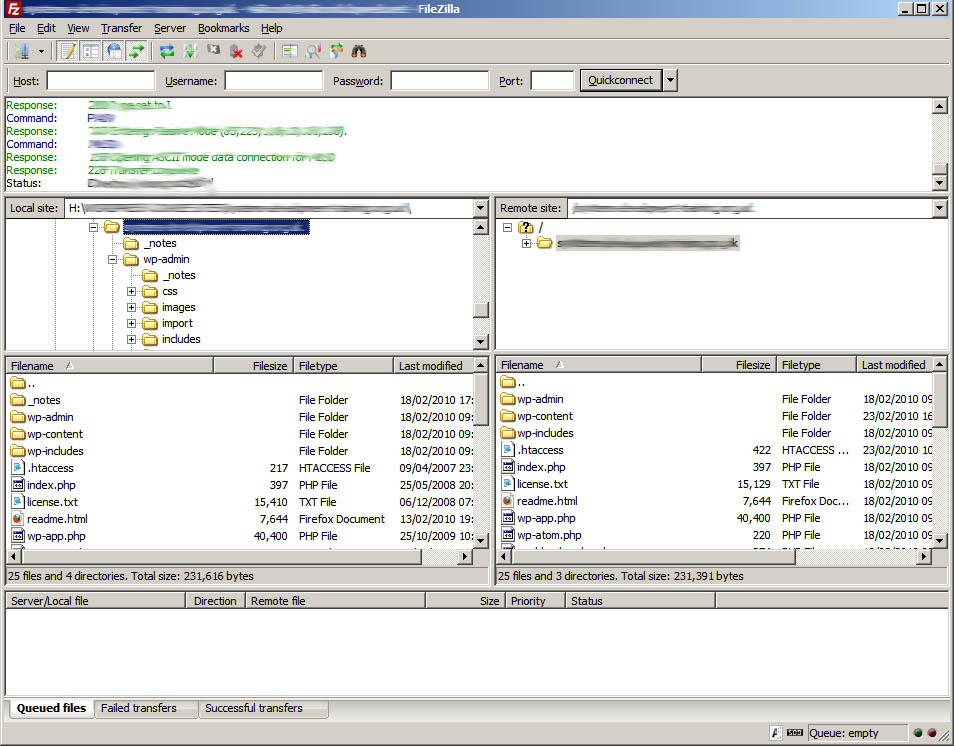
To your web host, upload the WordPress files. FTP or your web host’s file management can be used for this.

For your WordPress installation, create a MySQL database and user. Most web providers have a control panel where this is simple to perform.
WordPress may be linked to your MySQL database by editing the wp-config.php file. The username, password, and database name that you created in step 4 must be entered.
Open a web browser and navigate to your domain name to launch the WordPress installation script. Your site title, username, and password can be configured throughout the installation process, which WordPress will walk you through.
You can begin customising your site after the installation is complete by logging into your WordPress dashboard.
Please note that the exact steps may vary depending on your web host and setup. It’s always a good idea to refer to the documentation provided by your web host or WordPress for detailed instructions.
 Empowering you with knowledge Empowering you with knowledge

